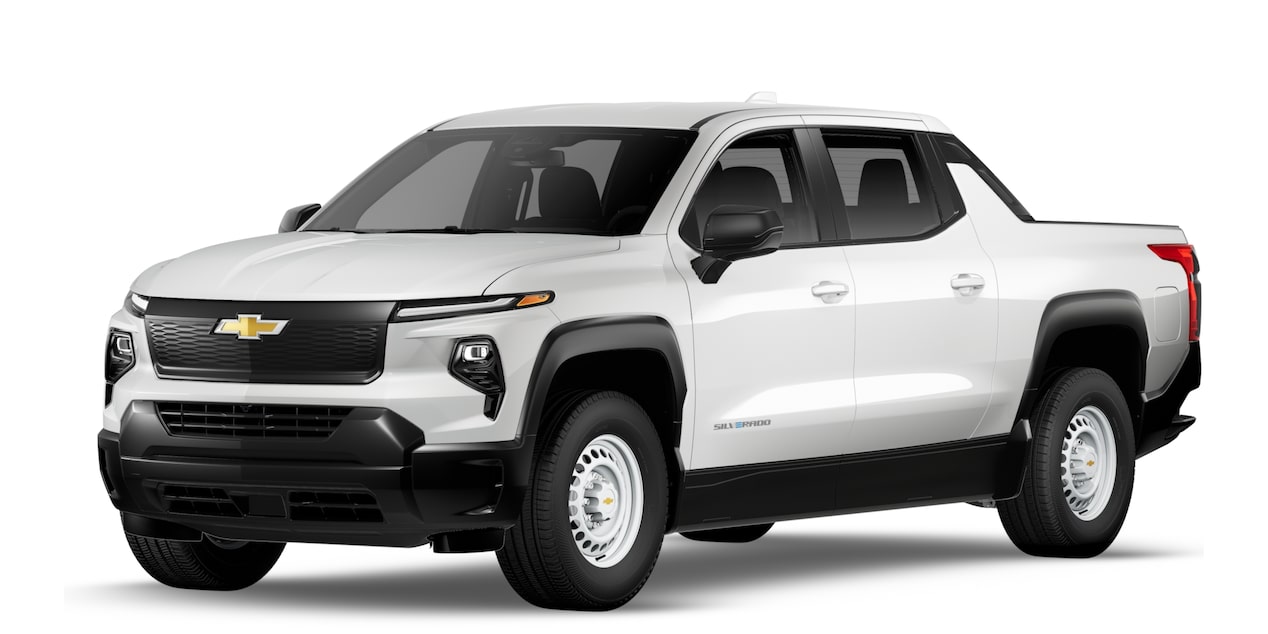
How to charge your EV at home
You can charge your electric vehicle in the convenience of your own home with two levels of
About charging your electric vehicle at home
You can charge your electric vehicle at home with two levels of charging that each offer a different rate of charge. When charging at home, power from the electrical grid will reach your vehicle through alternating current (AC) in the form of Level 1 or Level 2 charging. Your rate of charge will depend on which level of charging you use. For both levels of charging, do not use extension cords, multi-outlet power strips, splitters, grounding adapters, surge protectors or similar devices when connecting to the wall outlet.
Level 1 charging can be done at almost any properly equipped standard 3-prong (120V) wall outlet. Because it is slower than other charging options, this type of charging should only be used when no other charging stations are available.
Faster Level 2 charging requires a 4-prong (240V) wall outlet or you can have hardwired charging equipment professionally installed in your home or preferred charging location. Before plugging the charging cable into any electrical outlet, have a qualified electrician inspect and verify the electrical system is suitable for a heavy-duty service. Level 2 charging offers charge rates that range from 3.6 kw to 19.2 kw, depending on your vehicle and charging equipment's capacity.
Common charging levels include:
1. 7.7
Your vehicle will automatically adjust its charge rate to achieve the maximum speed of charge that both the vehicle and power source share.
The in-vehicle Charging and Vehicle Status apps and energy features within your vehicle’s mobile
How to charge your electric vehicle at home
Before Charging:
1. Set your preferred charging settings in the Charging app on your vehicle’s center display:
a. Choose to either Charge Now (to begin charging immediately) or Charge Later (to delay charge and then automatically begin charging later) and select a future time on the center display.
b. Set a target charge level by dragging the gauge marker or tapping the up and down arrows to the percentage of your choosing.
c. Toggle cabin preconditioning on or off.
d. Set a home location and a charging schedule with a per-day setting.
IMPORTANT: Your vehicle will remember the setting you choose and keep that setting, even if you turn your vehicle off and back on again.
Plugging in your vehicle
GM Energy offers home chargers and charging accessories to accommodate the needs of your EV. Depending on your vehicle's charging inlet, you may need an adapter to connect to the charging cable. Refer to the Chevrolet Accessories website to determine the appropriate adapter to connect your vehicle to the desired charging station.
To Start Charging:
1. Park your vehicle and go to the charging port on the outside of the vehicle:
a. Press the rear edge of the port door to pop it open.
b. If your vehicle has a motorized charge port door, press the emblem or indicator on the door to open it.
2. Plug the charging cable into the vehicle’s inlet beneath the door. Here’s how Level 1 and Level 2 (AC) charging work:
a. Level 1 charging: Both the Level 1 Charge Cord and Dual Level Charge Cord (with the 3-prong plug) allow Level 1 charging (120V) from common household outlets.
b. Level 2 charging: Depending on your vehicle, you can use the 4-prong plug to charge from an electrician-installed and inspected NACS or J1772-compliant home
Understanding Charge Indicator lights
A light on your instrument panel, visible from outside the vehicle, will illuminate to help you monitor the charging process:
- Solid blue: The vehicle has connected to the charger but hasn’t started charging.
- Flashing blue: Your vehicle has been set to delayed charging and will begin charging at a later time based on your charging settings.
Note: Check the “Charge Later” or “Home Schedule” sections of the Charging app to figure out if you have delayed charging turned on.
- Flashing green: Your vehicle has begun to charge. The length of the blinks will increase as your vehicle charges up – shorter blinks indicate a lower state of charge and longer blinks indicate a higher state of charge.
- Solid green: Charging is complete.
- Single red flash: There is a charging error with the vehicle or charging station.
- No light: The vehicle isn’t plugged in or there is an issue with the charging process. Check your charging cable connection and refer to your Owner’s Manual for details.
How to stop charging and unplug your vehicle at home
When you’d like to leave the charging station, you can stop the charge and unplug from the station. You do not have to wait for a charge to complete to stop charging your vehicle. To stop charging, you can do the following:
1. Stop charging virtually with:
a. The In-Vehicle Charging app
b. Your vehicle’s mobile app
2. Press the latch release button located at the top of the vehicle coupler on the charging cable.
To unplug your vehicle, press the latch release button and carefully unplug the charging cable from the vehicle’s inlet. If the charging cable remains locked to the vehicle and will not release after charging has been stopped, locate and pull the secondary release cord under the hood to release the charging cable from the inlet.
Note: On some vehicles, if you leave your charge port door open and open the driver door, you’ll hear three beeps to remind you to close it.
Power Charge Port Door:
If your vehicle has an automated charge port door, it will shut on its own when you shift out of PARK.
For your security, please don’t include personal info such as phone number, address or credit card details.
Related links and resources
Q&As
Looking for something else?
Need more help?
Communicate with one of our specialists.
To find out if your vehicle has this feature, contact your dealer or refer to your vehicle’s equipment list. Please check your Owner’s Manual for more information about features.


.png?imwidth=1200)

